This is a guide on how to register & update GODIAG scan tool software for the first time, applies to GODIAG GD201, GD202, GD203.
How to register GODIAG scan tool?
How to register GODIAG scan tool?
- Register through update software GODIAG
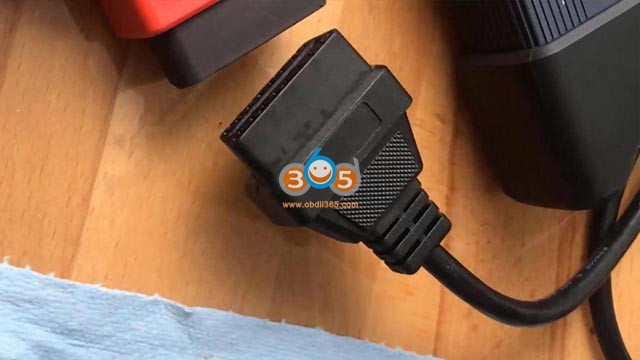
- Connect GODIAG scanner with computer via USB cable, click “Godiag Update Tool.exe” to install directly; Or to download the latest version of updater tool.

- Fill in the information to finish registration.

How to add GODIAG tool to your account?
NOTE:
- For new users, registration will be automatically finished when connecting scanner with computer via USB cable and running GODIAG.
- For users who have already registered, please follow the steps below.
- Please find “Serial Number” & “Register Password” by selecting “Setup >> About” on GODIAG tool(Or check the Password Paper in Register Password). Click “Register Products” icon after successfully login.

- Selected “001” option on “S/N Registration” tab, input SN & password to submit.
- A confirmation box will display to show successful registration(or register the tool in member center when logging in official website).
How to update GODIAG scan tool?
- Connect GODIAG tool with computer via USB cable.
- Running Godiag Update Tool and logging in, click “My Update”, software list will display after a while.
(Please make sure the SN is correct in drop-down list)

- Click “Update” to start downloading and installing.
Note: It’ll take some time for update process. Please make sure updates are 100% completed before disconnecting scanner from computer to avoid the possibility of data corruption.

Renewals
If your free updates ran out, your tool will continue to function - it will not 'time out' - but you will no
longer be able to access the update servers. Should you wish to continue updating your tool, you will
need to purchase an update package. Please go to our website and log in to process the purchasing.
Godiag Scan Tool Printing Data
It’s very easy to print out the test result through GODIAG.
1.Click the Button located on the upper side of GODIAG. You can enter the print screen without logging in GODIAG.

2. All data saved/stored in the scanner would appear on screen.

3.Tick a piece of data to either review it or print it out.
Renewals
If your free updates ran out, your tool will continue to function - it will not 'time out' - but you will no
longer be able to access the update servers. Should you wish to continue updating your tool, you will
need to purchase an update package. Please go to our website and log in to process the purchasing.
Godiag Scan Tool Printing Data
It’s very easy to print out the test result through GODIAG.
1.Click the Button
located on the upper side of GODIAG. You can enter the print screen without logging in GODIAG.2. All data saved/stored in the scanner would appear on screen.
3.Tick a piece of data to either review it or print it out.

learn more : GODIAG Scan Tool User Manual